Harvesting Hope: Caring for and Preserving Edible Flowers
Harvesting Edible Flowers
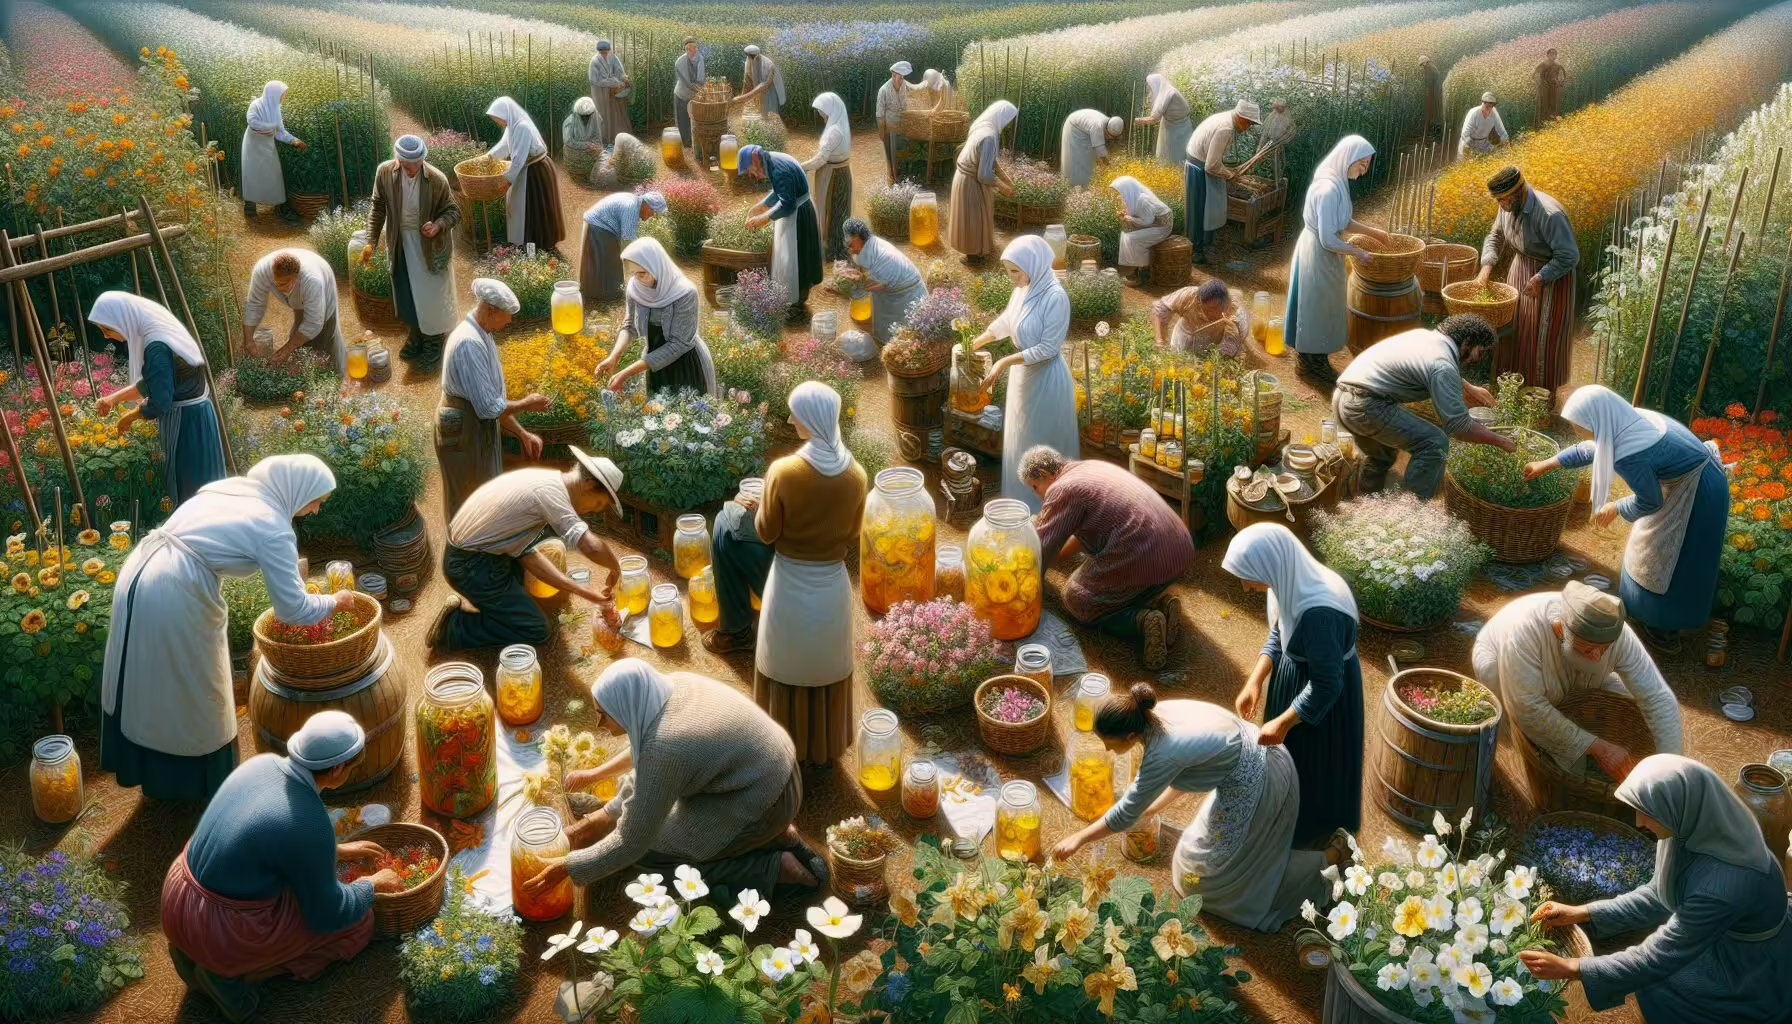
Taking care of and keeping those pretty edible flowers fresh and safe takes a bit of know-how, like when to pick them and how to make sure you’re doing it right.
Safe Harvesting Practices
When I’m out picking edible flowers, I stick to these rules to keep things safe:
-
No Chemicals Allowed: I only pick flowers from spots where no icky chemicals have touched them. This way, I’m not risking chomping down on anything nasty. Take something like an AeroGarden, where plants grow indoors away from chemical sprays. It’s a safe bet for munching on petals.
-
Know Your Plants: Getting the plant ID is a must before you pick. Not every flower is food; mess up, and it can be a whole problem. I always double-check to be sure the flowers I grab are actually safe. Plus, if I’m sneezy around pollen, I dodge whole blooms altogether (Gardeners Path).
-
Best Time to Pick: In my experience, grabbing flowers in the morning after sun-up gives you the best and most tasty bunch. They’re open and full of life, unlike later, when they might be a bit sun-baked or bug-bitten (Sustainable Holly).
Optimal Harvesting Times
Timing’s everything if you want the best of what these flowers offer. Mornings are golden as the flowers shine at their freshest. They tend to dry up a bit as the day wears on, losing some of their mojo.
| Time of Day | What’s Good |
|---|---|
| Morning | Flowers look their best—hydrated and fresh |
| Afternoon | Flowers might be wilting a bit |
| Evening | Not the best, they’re kinda dried out |
Post-picking, I chuck the flowers in the fridge and use them pretty darn quick for peak taste. Remember, each flower can be a bit different, needing its own TLC to stay fresh. Pick flowers from clean spots and stash them ASAP to keep them top-notch. For more on flower-friendly gardens, check out articles like how to start an edible pollinator garden or best companion plants for edible pollinator gardens.
Storing Edible Flowers
Once those edible flowers are picked, I gotta stash them right to keep them fresh and tasty. Let me walk you through the scoop on refrigerating and storing these beauties so they stay prime for my cooking adventures.
Refrigeration Tips
Refrigerating is a great move to lock in that freshness after picking. I pop ’em in an airtight box, keeping them away from moisture loss and funky fridge odors that can mess with their taste. It’s best to use ’em up pronto if you want that top-notch taste and smell (AeroGarden).
| Type of Flower | Chill Time in Fridge |
|---|---|
| Delicate Ones (like violets, pansies) | 2-3 days |
| Sturdier Blooms (like nasturtiums, marigolds) | 5-7 days |
I always make sure to slap a label on the container with the pick date. Helps me know when it’s munching time!
Best Storage Practices
Besides chilling them, I’ve figured out some neat tricks for keeping those edible flowers at their best:
- Keep ‘Em Damp: Wrapping the flowers in a slightly wet paper towel before sealing them up locks in that moisture.
- Seal It Up: Cling wrap can be your friend here, especially around stems, to keep the flowers safe from air.
- Get Fancy with Storage: Fiddling with the temperature and humidity in something called ‘controlled atmosphere storage’ can do wonders for their lifespan (ScienceDirect).
If ya store them right, dried flowers can last for about a year, though they might lose some oomph as their color goes (AeroGarden). Vacuum packing’s also a nifty trick for making them last longer and keeping them in good nick when storing for a long haul (ScienceDirect).
By sticking to these chilling and storage hacks, I make sure my edible flowers are always fresh and flavor-packed, ready to take my recipes to the next level. Ready to dive into growing your own edible garden? Catch my guide on how to start an edible pollinator garden.
Drying Methods for Edible Flowers
When it comes to keeping those edible blooms as lovely as they are tasty, drying them is a fantastic way to lock in their magic for later use. I’ll take you through a couple of ways to do this: air drying and desiccant drying.
Air Drying Techniques
Air drying keeps things simple and lets the flowers stay just as they are. It’s perfect for the little guys like chamomile, calendula, and lavender, since you can dry them whole. If you’ve got bigger flowers, though, you’ll want to take the petals off to make sure they dry nicely.
To air dry, here’s what you do:
-
Pick the Blooms: Go for flowers that are fresh and healthy. You’ll want to remove any leaves or stems you don’t need.
-
Bundle Them Up: Get the flowers into small bunches and tie them with string or twine.
-
Hang ‘Em: Flip those bundles upside down and find a cool, ventilated spot out of the sun—warm and dark is ideal.
-
Keep an Eye on Them: Check in on them now and then to make sure they’re drying well. A gentle rotation can help them stay in shape.
-
Pack ‘Em Away: Once they’re dry, pop them in an airtight container in a dark, dry place to keep them happy.
| Flower Type | Drying Notes |
|---|---|
| Chamomile | Best dried whole |
| Calendula | Best dried whole |
| Lavender | Best dried whole |
| Sunflower | Remove petals before you dry |
| Hibiscus | Remove petals before you dry |
Desiccant Drying Procedures
If your flowers are a bit on the juicy side, desiccant drying is the way to go. You’ll need some silica gel or another drying agent to soak up all that moisture.
For this method, follow these steps:
-
Get the Flowers Ready: Trim off anything you don’t want, and if they’re big flowers, take the petals off.
-
Pick the Right Container: You need an airtight container, something like a glass jar or plastic tub.
-
Layer Up: Put a layer of your desiccant on the bottom of the container.
-
Add the Flowers: Lay the flowers gently on the desiccant, without letting them touch each other. Add another layer of desiccant if you want.
-
Seal and Wait: Close it up tight and leave it be for a day or two, depending on how much moisture the flowers have.
-
Check If They’re Done: After waiting, see if they’re crisp and dry. If they bend, they need more time.
-
Store It Well: Move them to airtight containers, and slap a date label on them.
With these drying techniques in your back pocket, edible flowers can stick around a whole lot longer, ever ready to bring their delightful charm to your cooking adventures. If you’re curious about how to gather and keep them fresh, make sure to check out other parts of the guide.
Preserving Edible Flowers
Preserving my edible flowers is like bottling up little bursts of sunshine to savor when nature takes a break. We’re talking about ways to keep their beauty and yumminess alive even when winter comes knocking. So, freezing and vacuum packing are my go-to tricks. Each has its perks and needs its own special touch.
Freezing Guidelines
Freezing flowers? As easy as pie, right? Well, kinda. There’s a bit of a method to this madness if I want to keep them tasting heavenly. Sure, freezing’s a taste-saver, but watch out—it could mess with the color and feel of the petals (ScienceDirect).
Here’s how I freeze my flowery treasures:
- Cleaning Up: I give ’em a gentle rinse to shake off any sneaky dirt or bugs, then pat ’em dry with a soft cloth or paper towel.
- Blanching (Maybe): Some blooms might get a quick hot water bath—1 or 2 minutes—to lock in their shine and texture. Super gentle flowers can skip this spa treatment.
- Freezing Dance: Lay the flowers out flat like they’re sunbathing on a baking sheet and pop them in the freezer for a few hours till they’re solid as a rock.
- Storage Know-How: Once frozen, I pop the flowers into tight-sealed freezer bags or containers to give freezer burn the cold shoulder.
| Flower Type | Freezing-Friendly | Some Tips |
|---|---|---|
| Nasturtiums | Absolutely | Keeps flavor zippy |
| Pansies | Yep | Stays firm, may pale |
| Calendula | For sure | Flavor stays spot on |
| Chamomile | Totally | Tea-tastic |
Vacuum Packing Methods
Tired of flowers wilting away? Enter vacuum packing—a game-changer for keeping them fresh and fabulous. Maximum shelf life, minimum hassles. And hey, it’s a breeze to pack even the most fragile petals (ScienceDirect).
Here’s my vacuum packing 101:
- Prepping: First thing’s first, clean and dry those blossoms.
- Pack ‘Em Tight: Nestle the flowers in a vacuum sealer bag without squishing them too much. Suck out the air with a vacuum sealer till it’s tight around the petals.
- Storable Habits: Tuck those vacuum-sealed blooms into a cool, dry spot, or freeze them for an added layer of freshness.
| Why Vacuum Packing Rocks |
|---|
| Keeps the freshness game strong |
| Less spoilage—yay! |
| Flavor and colors stay golden |
| Shipping’s a cakewalk with sturdy packs |
With both freezing and vacuum packing under my belt, I can keep adding a splash of color and spice to everything in my kitchen. Whether tossing them in a salad, splashing them across a dish, or crowning a dessert, my edible flowers are ready to rock. Got your hands on other ways to use these beauties in the kitchen? Dive into a petal passion with me!
Culinary Uses of Edible Flowers
Adding Color and Flavor
I’ve found out that tossing a handful of bright petals into my cooking can really shake things up. Getting into the edible flower game, marigolds caught my eye with their splashy colors and zest. They have this citrusy-peppery vibe that’s like a burst of sunshine on grilled meats, stews, soups, and salads. Trust me, nobody wants bitter flowers, so remember to ditch the white petal bases before you sprinkle them. Marigold petals, along with other edible flowers, have become my trusty sidekick for adding a pop of cheer and flavor.
Now, let’s chat about daylilies. I love these babies! They’ve got a subtle, sweet thing going on that reminds me of asparagus and zucchini. You can treat their buds like green beans, stuffing, baking, or just tossing them on top of a cake for a hint of class (Garden Design). With their tasty and pretty bonuses, edible flowers have carved out a cozy nook in my kitchen experiments.
| Flower | Flavor Notes | Culinary Uses |
|---|---|---|
| Marigolds | Citrusy, peppery | Grilled meats, soups, salads |
| Daylilies | Mild, slightly sweet | Salads, stuffed dishes, baked treats |
| Nasturtiums | Peppery, delicate | Salads, faux capers from seed pods |
Diversifying Culinary Creations
Throw some edible flowers into the mix, and plain old recipes suddenly get a facelift. I’m all for turning nasturtium seed pods into pretend capers. It’s a bit of steeping in some brine followed by a hot pickle bath to make dishes dance on your taste buds (Gardener’s Path).
But wait, there’s more! Freezing these floral gems into ice cubes is my go-to trick. They make even the dullest drinks shine, perfect for jazzing up parties and get-togethers. And they’re a treat on salads or baked right into cookies for that extra visual oomph (Finch + Folly). These colorful blooms aren’t just for show; they’re culinary chameleons, bringing flavor and beauty all at once.
Flower power in cooking is my sweet spot, driving me to cook up new ideas. Whether it’s sprucing up a salad or dreaming up a unique dish, these flowers have a soft spot in my culinary heart. If you’re curious about starting your own garden or want more on cooking with flowers, check my guides on how to start an edible pollinator garden and how to use edible flowers in cooking and baking. Dive into the enchanting world of edible blooms—you won’t regret it.
Cautionary Notes for Edible Flowers
Whenever I dabble with edible flowers, a few important tips pop into my brain. Staying safe and recognizing potential allergies make munching on these colorful wonders a pleasure rather than a risk.
Mind the Allergies
So, if you’re like me and can’t resist throwing some petals into your culinary creations, remember to be super careful, especially if you sneeze a lot around springtime pollen. I usually nibble a little piece first, just to make sure my taste buds approve and my body doesn’t go into panic mode. Slowly getting used to new flora helps me keep tabs on any sneaky allergies that might spring up (Penn State Extension).
And don’t forget to double-check you’ve got the right blooms before you yank them from the garden. Some flowers are a no-go in the eating department, so I stick to those that haven’t been sprayed with anything dodgy. If pollen gets me sniffly, I stay clear of chomping down whole blossoms and keep an eye on trustworthy guidelines.
Playing it Safe
Playing it safe with edible flowers? For me, it’s not just about being a detective with plant origins. If I’m iffy about a flower’s identity, I choose caution over curiosity and skip it. This keeps me from mistakenly munching on something nasty.
Feeling unsure? I’ll pop by and chat with someone who knows their daisies from their deadly nightshades or even get a doc’s opinion. I’m responsible for what I put on my plate, and I’d like that plate to be worry-free. Learning which blooms work well in the kitchen and which ones don’t gives me more confidence when getting creative with my recipes.
When it comes down to it, while edible flowers might jazz up my food and make it Instagram-ready, my health comes first. By sticking to the rules and keeping an eye on myself as I try new flavors, I make sure my edible adventures stay tasty and safe.


Post Comment