Pollinators Beholding: Guide on How to Photograph in Your Edible Garden
My Pollinator Garden Photography Journey
Discovering the Magic of Pollinator Gardens
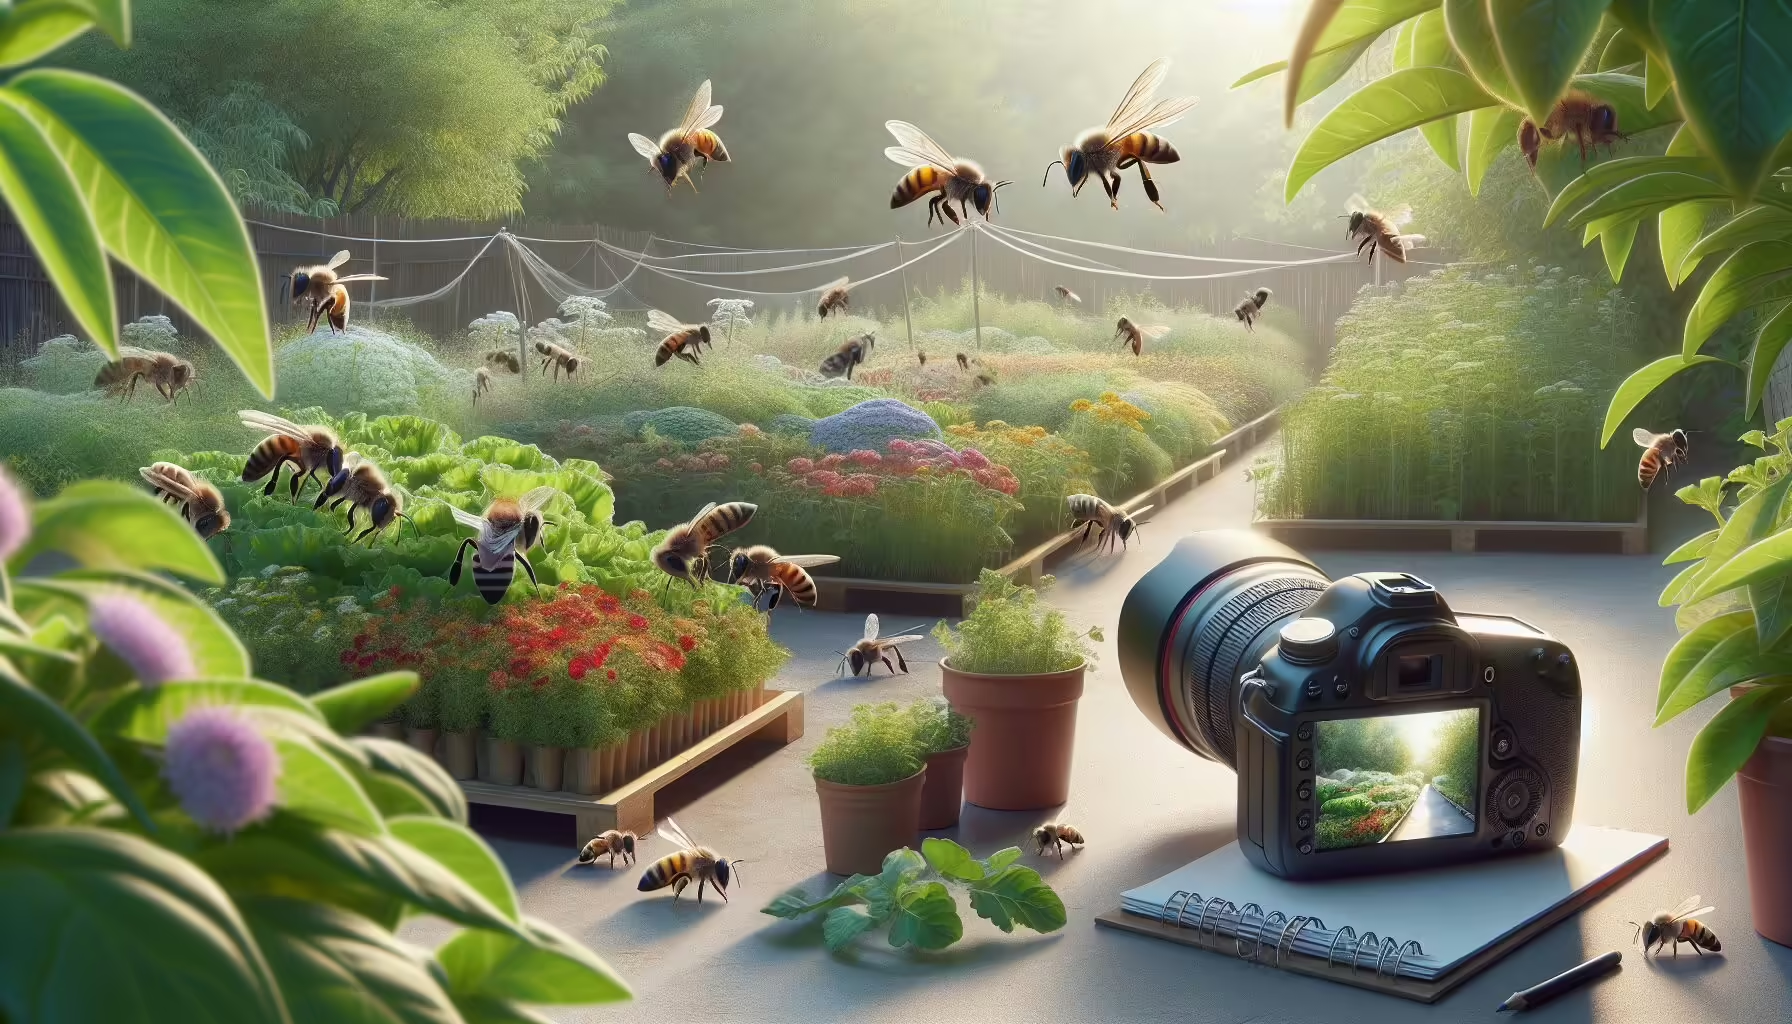
When I first dipped my toes into gardening, I couldn’t resist the charm and energy of pollinator gardens. The dance of bees and butterflies among the blossoms was pure magic. Capturing these moments with my camera soon became a way to spread this magic to others.
Turning a simple patch of earth into a pollinator haven is like painting with nature’s palette. The buzz and flutter of life invite me to snap memories that are meant to be shared. My garden, packed with thoughtfully selected plants, now sings the praises of pollinators and fuels my passion for photographing nature’s extraordinary designs.
| Features of My Pollinator Garden | Details |
|---|---|
| Plant Variety | A mix of plants that draw in different pollinators |
| Seasonal Color | Flowers bloom all season long |
| Location | Sun-drenched spots near water sources |
Snapping the Spirit Through Photography
Photography lets me celebrate where nature meets art. Each shot in my edible garden tells a tale – one of life blooming and pollinators playing their part. To truly capture these stories, I had to learn the quirks of photographing pollinators in my edible haven.
Zooming in on the fine details, like the petal’s texture or an insect’s wing, uncovers beauty that often flies under the radar. Using bold hues in my photos not only charms the eye but also motivates others to grow spaces where these essential critters thrive. If you’re keen on starting a garden like mine, check out how to start an edible pollinator garden.
With time and a nimble finger, I found that snagging the perfect shot means getting to know both the stars of the show and their stage. Each camera click reminds me of the joy that pollinator gardening sparks in both plants and their tiny visitors. By sharing my story, I hope to inspire fellow gardeners to celebrate these wonderful creatures and showcase them in their photography adventures too.
Preparing Your Edible Garden for Photography
When I’m getting ready to photograph pollinators in my edible garden, it all begins with a solid plan. Picking the right greenery and setting up a welcoming scene not only draws these helpful creatures but also helps me snap their beauty.
Picking Plants That Pull Pollinators
Opting for plants that don’t just look good but also work wonders for pollinators is fundamental. Different blooms call different pollinators like bees, butterflies, and hummingbirds into the garden, creating a lively ecosystem for them, and beautifying the garden too.
Here’s a table of top-notch plants that roll out the red carpet for pollinators:
| Plant Type | Pollinator Attracted | Bloom Season |
|---|---|---|
| Lavender | Bees | Summer |
| Coneflower | Butterflies | Summer to Fall |
| Bee Balm | Bees & Hummingbirds | Summer to Early Fall |
| Zinnia | Butterflies | Summer |
| Salvia | Bees | Spring to Fall |
Working these plants into my garden lets me snag stunning pollinator pics while also being good to the environment. If you’re curious about companion planting—which should always get your gears turning—I’d check out best companion plants for edible pollinator gardens.
Setting Up a Cozy Spot for Pollinators
Making my edible garden a snug retreat for pollinators cranks up the chances they’ll swing by. Think about shelter, water, and food—they’re all vital in rolling out the metaphorical welcome mat.
-
Shelter: Giving pollinators spots to chill is a must. I go for native plants that double as breezy hideouts, or even whip up tiny bee hotels using bamboo or wood—kind of like Airbnb for bees.
-
Water: Adding shallow pools, like birdbaths with stones, lures in thirsty pollinators who need a quick sip.
-
Avoiding Chemicals: I stick with organic pest control tricks like the ones you can find at organic pest control in edible pollinator gardens to keep my garden safe and sound.
By turning my garden into the ultimate pollinator paradise, I up my chances of snapping jaw-dropping shots that show off the garden’s life and charm. For seasonal insights, hitting up the seasonal planting guide for edible pollinator gardens can clue you in on the prime planting times for your pollinator pals.
Techniques for Photographing Pollinators
Snapping photos of pollinators flitting through my garden has been nothing short of magical. These tiny powerhouses play a huge part in the garden’s symphony, and with a bit of know-how, you too can capture them in all their glory. Here’s a peek into what I’ve picked up on my own photo adventures and how you can snap some knockout pictures of buzzing and fluttering pals in your edible garden.
Timing and Lighting Considerations
When it comes to capturing pollinators, timing is everything. I’ve found my best shots happen during the golden hours right after sunrise or just before sunset. The light is softer, draping everything in a gentle glow that’s kind to shadows and highlights. The colors—including those of flowers—become richer, giving the overall photo a serene, natural vibe.
Here, I put together a quick lighting cheat sheet for my shooting times:
| Time of Day | Light Type | Best for |
|---|---|---|
| Sunrise | Soft & Gentle | Flowers & Pollinators |
| Middle of Day | Sharsh & Bright | Less Ideal |
| Sunset | Soft & Warm | Silhouettes & Hues |
Getting Up Close and Personal with Pollinators
When I want to capture every tiny detail, getting closer is key. I use a macro lens to zoom in on the fantastic detail of bees, butterflies, and other garden regulars; however, if that lens isn’t available, I just switch on my camera’s close-up option.
Some go-to tips for up-close shots include:
- Using a solid tripod to hold my camera steady, especially with a zoom.
- Manually focusing to pinpoint those small details.
- Watching patiently to predict landing spots and prepare to snap.
Capturing Pollinators in Action
Seeing pollinators mid-munch or as they hover is like hitting the photo jackpot. The trick here? Fast shutter speeds to nail action shots without a blur. They’re speedy fellows!
I flip my camera to continuous shooting mode so I can fire off a round of shots at once, upping my odds of catching the “ah-ha” moment. A clean background is also a must for not pulling attention away from the main act—our pollinators.
Here’s my quick pre-photo checklist:
- Juice up the battery and check memory space so nothing stops the shoot.
- Start with some distance to avoid scaring them away.
- Keep calm and wait for that perfect snap.
Armed with these insights, I’ve become a pretty snappy photographer of my buzzing garden guests. For a how-to on making your garden a pollinator paradise, check out my guide on how to start an edible pollinator garden.
Equipment Essentials for Pollinator Photography
When I first picked up my camera to capture the mesmerizing dance of pollinators in my garden, I realized pretty quickly that having the right equipment was the game-changer. Sure, you can get some nice shots with your basic setup, but trust me, the right gear can really up your game. Here’s what I couldn’t do without when photographing those amazing little critters.
Camera Gear Recommendations
So, let’s talk camera gear. After a lot of experimenting, I’ve found a few essentials that really boost the quality of my photos. Here’s my go-to list, with a quick rundown on what makes each piece a must-have:
| Gear Type | Recommended Features | Purpose |
|---|---|---|
| DSLR or Mirrorless | 24 MP or higher, interchangeable lenses | Gives you top-notch photo quality and lens options you can change up |
| Macro Lens | 100mm or more | Perfect for getting in close and capturing all those tiny details |
| Tripod | Sturdy, lightweight | Keeps everything steady, especially when the lighting is tricky |
If you’re dreaming of snapping pics in your own pollen paradise, check out how to start an edible pollinator garden.
Accessories for Enhanced Photography
Besides the main camera stuff, there are some accessories I’ve found that make a big difference. Here’s my shortlist of must-have extras:
| Accessory | Purpose |
|---|---|
| Lens Filters | Cuts through glare, pumps up those colors |
| External Flash | Adds light in shadowy spots, like under big leafy trees |
| Reflectors | Redirects sunlight to light up your subject beautifully |
| Camera Strap | Keeps the camera secure around your neck and easy to handle |
| Cleaning Kit | Keeps everything squeaky clean and ready to go when needed |
These extras not only sharpen up your photos but make snapping pictures in my garden a total pleasure. Curious about which plants bring in the most pollinators? Check this out: best companion plants for edible pollinator gardens.
With the right gear on hand, I’m all set to freeze those magical bee and butterfly moments, letting the beauty of my garden shine through my lens. Whether it’s zooming in on a butterfly perched on a bloom or a bee busy collecting pollen, being well-equipped makes capturing those moments a reality.
Tips for Successful Pollinator Garden Photography
When I venture into my pollinator garden with a camera in hand, I’ve stumbled upon a few tricks that make the whole picture-snapping adventure way more fun and successful. Here are some little nuggets of wisdom I’ve picked up along the way.
Patience and Waiting It Out
Getting good shots of pollinators takes a good chunk of patience. These little critters are constantly buzzing around, doing their thing. By hanging back and just watching them, I pick up on their quirky behavior and snag the perfect shot when the time’s right.
There are plenty of times I’ve found myself just chilling beside my favorite flower, soaking in the stillness, while hoping a butterfly or bee will swing by. This calm waiting game results in some cool photos and totally amps up my love for nature.
Tweaking Your Pics
Once I’m done snapping, the magic really begins with a bit of computer wizardry. Just a few tweaks here and there can turn good photos into great ones. Here’s my go-to list:
| Editing Tip | Why It’s Awesome |
|---|---|
| Boost Brightness | Makes everything pop and stand out |
| Pump Up Saturation | Makes the colors in flowers and bugs vibrant |
| Trim the Image | Zeroes in on the good stuff and gets rid of clutter |
| Intensify Sharpness | Brings out the little details in close-ups |
Whether it’s a free app or a fancy program, there’s a tech tool out there that makes this step not just essential but pretty fun too. The trick is not to go overboard. I try to keep things looking as natural as possible while giving them a little extra oomph.
Sharing Your Pollinator Garden Love
Once my pics are all spruced up, sharing them is a blast. Social media, garden blogs, or community hangouts online are perfect for linking with other plant fans and nature geeks. I find that sharing the stories behind the photos — like the thrill of a bee doing its thing or a quiet moment with a butterfly — makes the whole experience richer for everyone involved.
If you’re itching to learn more about crafting your own buzzing paradise, check out how to kick-start an edible pollinator garden here. Don’t miss out on lining up the best buddy plants for edible pollinator gardens to really make your photos shine. These resources help me not just with the planting bit but also in creating a sweet backdrop for my photo sessions, keeping the pollinators happy and thriving.


Post Comment