Creating a Buzz: The Ultimate Top 10 Seed Kits for Your Pollinator Paradise
Starting an Indoor Pollinator Garden
Jumping into the world of indoor pollinator gardens feels like inviting a piece of nature right into your living room. It fosters not just a love for plants, but also gives a helping hand to little winged wonders like bees and butterflies, keeping them buzzing and fluttering along.
Benefits of Starting Seeds Indoors
Honestly, starting seeds indoors is one of the most rewarding and penny-pinching ways to spruce up my garden. The plants come out strong, healthy, and ready to face the world. As Gardeners Basics highlights, when you grow those little seeds inside, especially milkweed, you end up creating a paradise for monarch butterflies with plenty of nectary blossoms to feast on.
Starting seeds indoors lets me be the boss of their growing world—controlling everything from what they eat (nutrients) to keeping unwanted bugs at bay. Plus, it’s way cheaper than constantly buying grown plants from a nursery. Thanks to tips from Bootstrap Farmer, I’ve dabbled with all sorts of plant varieties without emptying my pockets.
| Benefits of Starting Seeds Indoors | Why It’s Awesome |
|---|---|
| Save Money | Way cheaper than buying fully-grown plants |
| Better Germination | Seeds thrive better under constant care |
| Explore More | A chance to try many different plants |
| Control Freak | Total say in how and what the plants get fed and treated |
Selecting the Right Location
Finding that “just right” spot for seed growing can be a bit of a head-scratcher. From my experience, window sills can be hit-or-miss because of the temperature rollercoaster and ever-changing light (University of Minnesota Extension). So, I hunt for a place where the light is steady and the warmth is welcoming.
Seeds are pretty picky about their home turf, especially liking temperatures that dance between 65-75°F. And the light? Some seeds just can’t sprout without getting their daily dose of sun (Buzzy Seeds).
Here’s a handy little table for remembering the primo seed-growing conditions:
| Condition | What’s Ideal |
|---|---|
| Temperature | 65-75°F vibes |
| Light | Sufficient sunlight, a few need direct light |
| Best Spot | Skip the windowsill; find a stable, snug area |
By pampering my seeds with the perfect environment, they turn into healthy seedlings ready to tackle the outdoors. For more nitty-gritty tips and tricks, pop over to my guide on starting an edible pollinator garden.
Seed Starting Techniques for Success
Getting those seeds sprouting for my pollinator garden can be one heck of a rewarding adventure. With a few tricks up my sleeve, I can give my plants a solid start right from the get-go. Let’s chat about two biggies in seed starting: picking the right containers and getting the lowdown on seed starters.
Choosing the Right Containers
Choosing the right pots for seeds? Yeah, it’s a big deal. Personally, I’m all about containers that drain well and won’t break my back moving them around. From seed trays to peat pots to your grandma’s old yogurt tubs, options are endless. Whatever the choice, drainage holes are a must—nobody likes soggy roots.
| Container Type | Advantages | Disadvantages |
|---|---|---|
| Seed Trays | Super light, tons of seeds fit | Might need to move to bigger digs |
| Peat Pots | Earth-friendly, transplant ready | Dry faster than a desert lasts |
| Recycled Containers | Cheap, easy on the planet | You’ll need a drill for drainage |
Size matters too! Tiny seeds like herbs love seed trays, but biggies like squash might need roomier pads.
Importance of Using Seed Starting Mixes
The right soil mix is no joke—it can make or break those budding beauties. A solid mix means better sprouting and healthier seedlings. Store-bought mixes usually have vermiculite and peat, making them clean, lightweights free of pesky weeds. These not only help with drainage but also keep the air flowing like a gentle breeze (University of Minnesota Extension).
Here’s a quick glance at the big players in starting mixes:
| Component | Description | Benefits |
|---|---|---|
| Peat Moss | Funky organic stuff | Holds onto moisture, featherweight |
| Vermiculite | Shiny mineral bits | Boosts drainage, keeps air flowing |
| Perlite | Cool pop rocks of nature | Lightens up soil, fights clumping |
Following seed packet directions is key—depth and timing are everything to catch that sprouting train (Buzzy Seeds).
Grasping the basics of container choices and the big role of a proper soil starter can launch my edible pollinator haven into orbit. Whenever I’m in doubt, I dig deep in guides on how to start an edible pollinator garden.
Caring for Seedlings
Nurturing seedlings can be like nurturing little green infants, setting the path for a bountiful edible pollinator garden. So, how do you give these tiny plants the best start? Let’s talk sprouting, light, and warmth.
Germination Requirements
Most seeds need a comfy temperature to kick off their growth. Generally, they feel snuggly between 65°F and 75°F. This cozy environment helps them get moving on sprouting. Light’s important too; imagine seeds doing yoga stretches. After they sprout, I like to make sure they get a good dose of indirect sunlight. Trust me, it works wonders (Amazon).
| Seed Type | Ideal Germination Temperature (°F) | Light Requirement |
|---|---|---|
| Common Wildflowers | 70-75 | Indirect light |
| Herbs | 65-70 | Full light |
| Vegetables | 65-75 | Indirect light |
Providing Light and Temperature
Picking the right spot for your seeds can be the game-changer. A windowsill might seem handy, but it can be quite a mood swing in temperature and light (University of Minnesota Extension). Instead, find a more reliable indoor area where you can boss around the light and heat settings.
Grow lights are the gardener’s secret weapon—especially when the days are shy in sunshine. Keep their glow going strong for 12-16 hours a day, and your seedlings will do a little happy dance. Once they bust out, a sprinkle of half-strength all-purpose plant food can give them the boost they need (Buzzy Seeds).
Setting up a comfy crib for your seedlings not only helps them sprout better but gets them ready for the big world outside. This is a big step in making your pollinator garden burst with life.
Hungry for more? Check out my piece on how to start an edible pollinator garden. It’ll steer your garden zing in the right direction.
Top 10 Seed Kits for Edible Pollinator Gardens
It all kicks off with the right seeds when you’re whipping up a pollinator garden that buzzes with life and flavor. I’ve found a couple of top-notch seed kits that’ll jump-start my garden into a food-friendly pollinator paradise. Let’s take a peek.
Seed Needs Edible Wildflower Collection
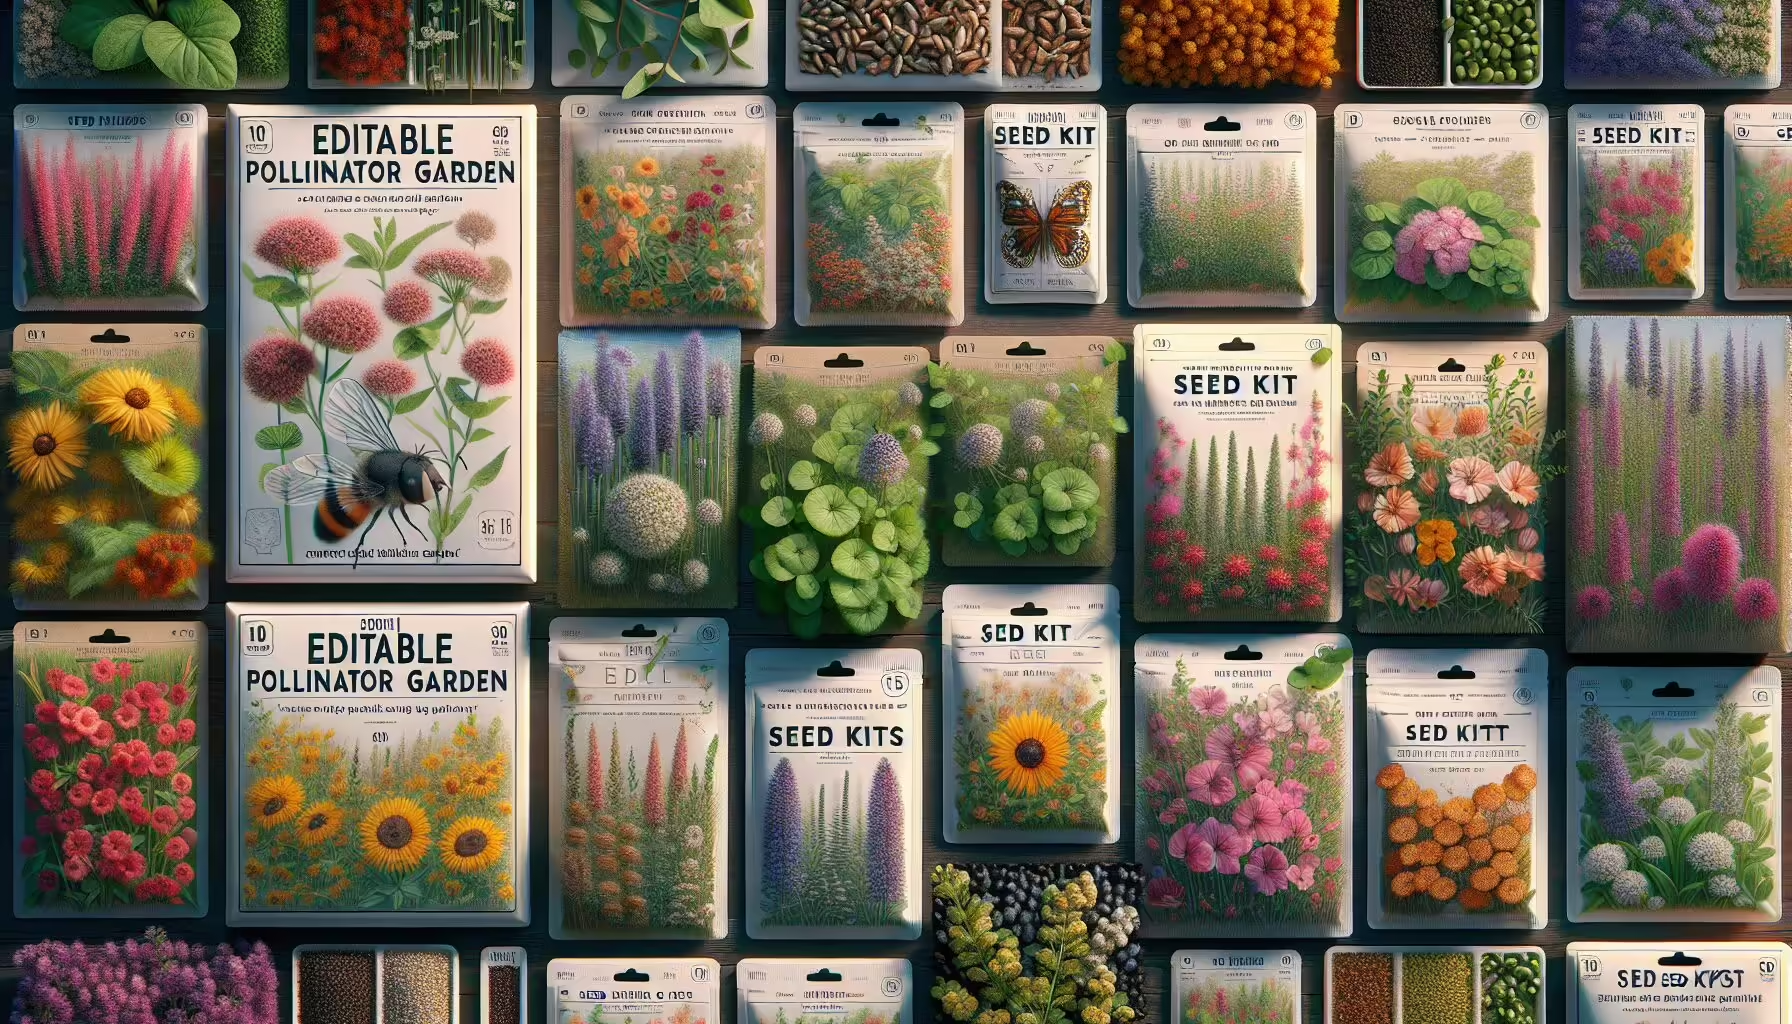
This collection is my go-to if I want to bring all the pollinators while also spicing up my kitchen. We’re talking about Blue Borage, Calendula, Chives, Wild Bee Balm, Marigold, Pansies, Johnny Jump Ups, and Nasturtium – flowers that are easy on the eyes and give salads and dishes a fancy twist. Each packet is packed to the brim with seeds, making planting an exciting adventure.
| Plant Type | Seed Count |
|---|---|
| Blue Borage | ~200 seeds |
| Calendula | ~200 seeds |
| Chives | ~200 seeds |
| Wild Bee Balm | ~200 seeds |
| Marigold | ~200 seeds |
| Pansies | ~200 seeds |
| Johnny Jump Ups | ~200 seeds |
| Nasturtium | 25 seeds |
These packets, measuring a nifty 3.25″ by 4.50″, pop out with vibrant art on the front and all the wise planting tips on the back. Plus, a QR code zaps you to even more plant secrets on Amazon. Seed Needs promises these are non-GMO, heirloom seeds, ensuring they stay true blue to their roots. They’re untreated and bred with love, making for a growing gig that’s both fun and enlightening. Folks who’ve tried them rave about the joy in seeing these seeds sprout into stunners. Check it out on Amazon.
Buzzy Grow Kit: Starting Your Pollinator Garden
The Buzzy Grow Kit is another ace option for getting an edible pollinator garden on the go. It’s got a fab mix of seeds that are bee and butterfly magnets but also good enough to eat! This kit usually packs pots, soil, and a tailor-made seed selection so I can start my own pollinator party. Buzzy’s commitment to eco-flourishing means each seed variety is a nature hero.
Whether setting up inside my pad or outside, this kit’s a breeze to use regardless of space constraints. It’s perfect for newbies too, with straightforward how-tos for nurturing my new green friends.
By snapping up either the Seed Needs Edible Wildflower Collection or the Buzzy Grow Kit, I’m not just sprucing up my garden. I’m creating a hangout for pollinators. If you’re itching for more planting ideas, don’t miss our guide on how to start an edible pollinator garden.
Getting Seedlings Ready for the Garden
Moving seedlings to their new home in the garden can feel tricky, but with some care and a bit of patience, they can settle in just fine. Here’s my two cents on how to ease them into their new digs and give them the best chance to grow strong.
Giving Seedlings a Gentle Introduction
When it’s finally time to move my little green friends from the cozy windowsill to the great outdoors, I make sure they get used to it slowly. What I do is slowly introduce them to outside, upping their outside time a bit each day – helps make the change less of a shocker for them. I start by tucking them in a shaded corner, letting them soak up the fresh air without getting cooked by the sun.
| Day | Time Outside | Sun Bathe |
|---|---|---|
| 1 | 2 hours | Shady |
| 2 | 3 hours | Shady |
| 3 | 4 hours | A peek of sun |
| 4 | 5 hours | Morning or afternoon sun |
| 5 | 6 hours | Morning or afternoon sun |
| 6 | 7 hours | Full day’s sun |
| 7 | All Day | Full day’s sun |
By the end of a week, these little guys are ready to face the wild world of the garden. Avoiding direct sunlight at the height of the day keeps them from getting too much at one go and freaking out or drooping (Bootstrap Farmer).
Feeding and Planting Tips
A spade of good food goes a long way in helping these seedlings settle in and grow. I chuck in some rich, organic compost to give a nutrient boost before sticking them into the ground. It’s like setting up a comfy bed for them to stretch out and grow.
I also make sure they’re not jostling each other for root space by keeping them at a good distance. This helps them breathe easier and avoids squabbles over food. Here’s how I space some popular ones:
| Plant Type | Gap (inches) |
|---|---|
| Milkweed | 24 |
| Echinacea | 18 |
| Bee Balm | 24 |
| Sunflower | 12 |
| Zinnia | 12 |
These rules help my green pals flourish, turning my garden into a buzzing hub of pollinators. And if you’re digging deeper, check out how to start an edible pollinator garden and companion plants you might wanna try. They’re mighty handy resources for making your garden a real slice of Eden.
Pollinator Garden Conservation Efforts
Building a pollinator garden isn’t just about the eye candy – it’s about setting up home sweet home for the buzzing bees and fluttering butterflies. My mission? Rolling out the red carpet for these unsung heroes.
Importance of Milkweed for Monarch Butterflies
Milkweed is like the VIP lounge for monarch butterflies. The fancy-sounding Asclepias speciosa, or showy milkweed, is a real game-changer for those little monarch caterpillars. By planting milkweed, I’m giving butterflies a fighting chance. It does more than just look pretty – it’s their nursery and their buffet, all rolled into one (Gardeners Basics).
To get milkweed off to a flying start in my garden, I begin by sprouting seeds indoors. This little trick helps the seeds wake up and grow into sturdy plants. Plus, I make sure to give the seeds a good soak or let them chill out and stratify, which is fancy talk for helping them get a head start in supporting monarchs from the ground up.
| Technique | Boost for Germination |
|---|---|
| Stratifying Seeds | High |
| Soaking Seeds | Moderate |
Supporting Pollinators through Plant Choices
It’s about picking plants that are the ultimate combo of beauty and beast benefits. I pick flowers and herbs that look good and do good for our bee and butterfly buddies. By mixing things up with plants that bloom in different seasons, I keep the pantry stocked from early spring to the fall finale.
Here are my go-to crew for a buzzing pollinator party:
| Plant Type | Pollinators Invited |
|---|---|
| Bee Balm | Bees and Hummingbirds |
| Coneflower | Butterflies and Bees |
| Lavender | Bees |
| Echinacea | Butterflies |
| Showy Milkweed | Monarch Butterflies |
Picking the right plants amps up the butterfly and bee vibes in my little slice of nature. Knowing what plants are the real crowd-pleasers means I’m doing my bit for pollinator conservation. For anyone itching to dig in, head over to check out how to start an edible pollinator garden and kick things off. By making smart picks, we all can boost the local pollinator scene where it counts.


Post Comment